百思不得姐项目(一)
说明
- 本文主要介绍百思不得姐项目框架的搭建
- 本文是博主在自己实战项目的一些笔记,如若有错,敬请指正!
- 我们要实现的内容如下:
前期准备
本文用到的第三方类库有:
- SVProgressHUD
- AFNetworking
我们可以使用cocoapods快速导入第三方类库,一些图片可以从我的项目中Assets.xcassets文件夹中拖入自己工程即可。
一、创建项目
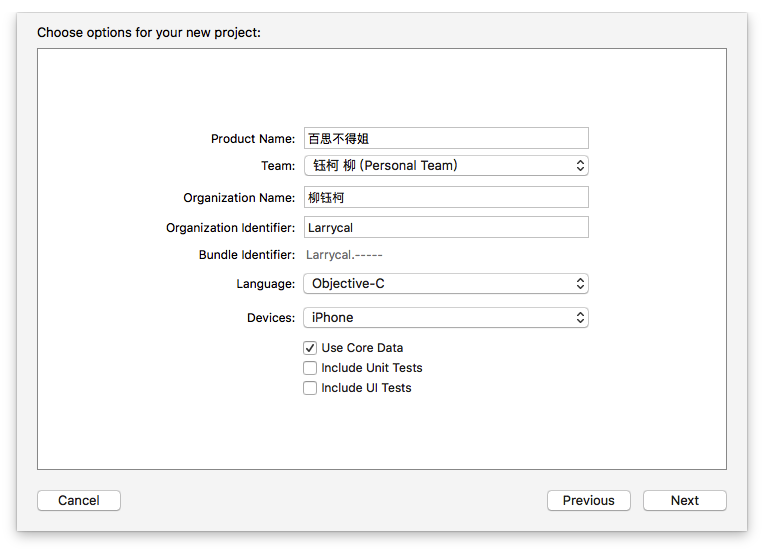
创建好项目之后,我们需要对项目文件进行一个框架管理,文件目前共有5层结构:
1、Essence-精华
2、New-新帖
3、Me-我
4、FriendTrends-关注
5、Other-其他
每个文件根据MVC模式可以分为Model(模型)、View(视图)、Controller(控制器) 所以项目文件最终的结果如图:(PS:其他几个目录中文件为:Model、View、Controller,没有其他文件)。
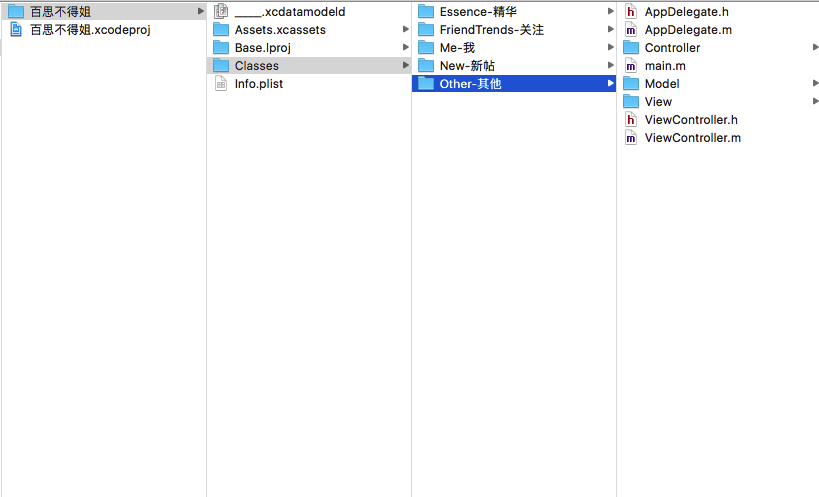
当我们整理好项目目录之后,我们的Xcode会变成这样:  此时,将红色部分删除,然后再将我们的Classes文件夹拖入即可,最终效果如图:
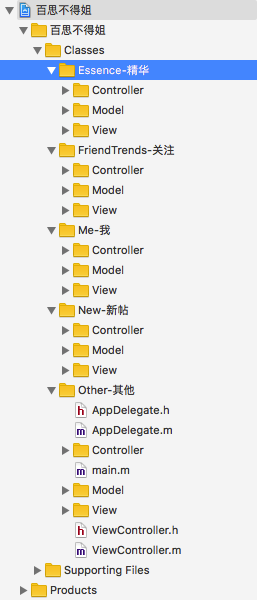
二、创建初始化界面
由于界面是我们自己写的,所以我们不需要系统给我们建立的ViewController,直接删掉即可。 窗口的根控制器需要我们自己定义,在Other->其他->Controller文件夹下新建一个继承自UITabBarController的类。 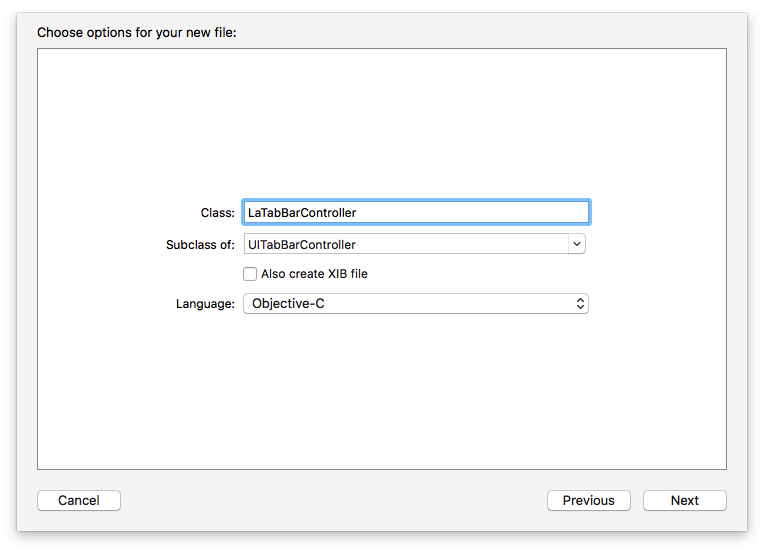 在
在AppDelegate.m中导入头文件#import "LaTabBarController.h"并添加如下代码,更改初始化界面为我们自己的界面:
- (BOOL)application:(UIApplication *)application didFinishLaunchingWithOptions:(NSDictionary *)launchOptions {
    // 创建窗口
    self.window = [[UIWindow alloc] init];
    self.window.frame = [UIScreen mainScreen].bounds;

    // 添加子控制器
    self.window.rootViewController = [[LaTabBarController alloc] init];

    // 显示窗口
    [self.window makeKeyAndVisible];

    return YES;
}
同时去掉项目中默认的初始化界面: 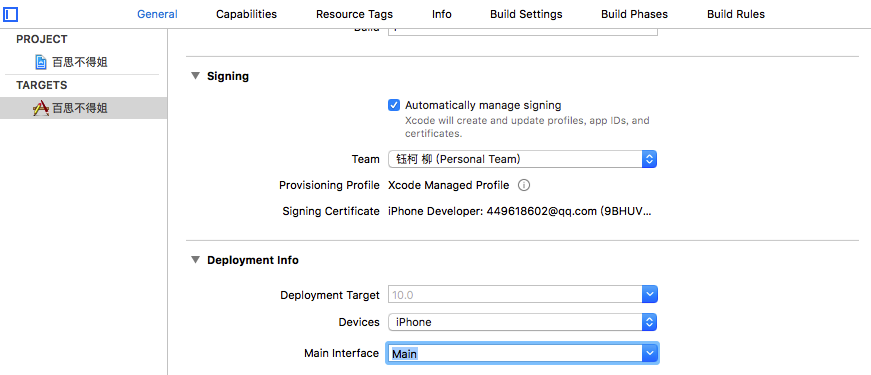 删除main并回车。运行程序:
 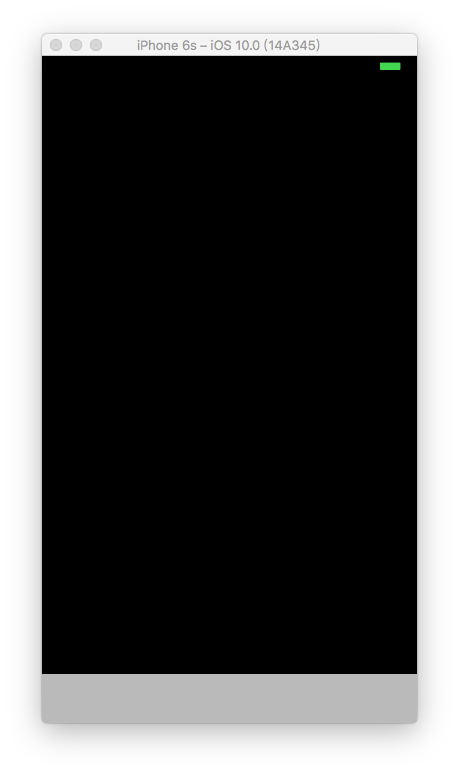 界面已经是我们自己定义的了,因为我们没有往其中添加东西,所以显示才为全黑。
三、配置TabBarController
我们自己的界面目前有4个——精华、关注、我的、新帖,所以我们都要对其创建新的控制器,方便我们以后的自定义操作,建立好的结果如图: 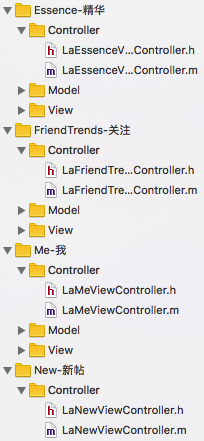
我们开始自己定义TabBarController,一些重复性操作我将其抽取到了- (void)setUpChildVC:(UIViewController *)vc Title:(NSString *)title Image:(NSString *)image SelectImage:(NSString *)selectImage函数中
//
//  LaTabBarController.m
//  百思不得姐
//
//  Created by 柳钰柯 on 2016/10/16.
//  Copyright © 2016年 柳钰柯. All rights reserved.
//

#import "LaTabBarController.h"
#import "LaEssenceViewController.h"
#import "LaFriendTrendsViewController.h"
#import "LaMeViewController.h"
#import "LaNewViewController.h"

@interface LaTabBarController ()

@end

@implementation LaTabBarController

+ (void)initialize{

    NSMutableDictionary *attrs = [NSMutableDictionary dictionary];
    attrs[NSFontAttributeName] = [UIFont systemFontOfSize:12];// 设置字体大小
    attrs[NSForegroundColorAttributeName] = [UIColor grayColor];// 设置正常按钮字体颜色

    NSMutableDictionary *selectAttrs = [NSMutableDictionary dictionary];
    selectAttrs[NSFontAttributeName] = [UIFont systemFontOfSize:12];
    selectAttrs[NSForegroundColorAttributeName] = [UIColor darkGrayColor];// 设置选中按钮字体颜色

    UITabBarItem *item = [UITabBarItem appearance];
    [item setTitleTextAttributes:attrs forState:UIControlStateNormal];
    [item setTitleTextAttributes:selectAttrs forState:UIControlStateSelected];
}

- (void)viewDidLoad {
    [super viewDidLoad];


    // 添加子控制器
    UIViewController *vc1 = [[LaEssenceViewController alloc]init];
    [self setUpChildVC:vc1 Title:@"精华" Image:@"tabBar_essence_icon" SelectImage:@"tabBar_essence_click_icon"];

    UIViewController *vc2 = [[LaNewViewController alloc]init];
    [self setUpChildVC:vc2 Title:@"新帖" Image:@"tabBar_new_icon" SelectImage:@"tabBar_new_click_icon"];

    UIViewController *vc3 = [[LaFriendTrendsViewController alloc]init];
    [self setUpChildVC:vc3 Title:@"我的关注" Image:@"tabBar_friendTrends_icon" SelectImage:@"tabBar_friendTrends_click_icon"];

    UIViewController *vc4 = [[LaMeViewController alloc]init];
    [self setUpChildVC:vc4 Title:@"我的" Image:@"tabBar_me_icon" SelectImage:@"tabBar_me_click_icon"];

    // 更换TabBar
    // [self setValue:[[LaTabBar alloc]init] forKeyPath:@"tabBar"];
}

/**
 * 添加子控制器
 */
- (void)setUpChildVC:(UIViewController *)vc Title:(NSString *)title Image:(NSString *)image SelectImage:(NSString *)selectImage{
    vc.navigationItem.title = title;// 设置导航栏标题
    vc.tabBarItem.title = title;// 设置按钮标题
    vc.tabBarItem.image = [UIImage imageNamed:image];// 设置按钮图片
    vc.tabBarItem.selectedImage = [UIImage imageNamed:selectImage];// 设置选中图片
    vc.view.backgroundColor = [UIColor colorWithRed:arc4random_uniform(255)/255.0
                                              green:arc4random_uniform(255)/255.0
                                               blue:arc4random_uniform(255)/255.0
                                              alpha:1.0]; // 设置背景颜色为了区别不同界面
    // 包装导航控制器,添加导航控制器为tabBarController的子控制器
    UINavigationController *navigationController = [[UINavigationController alloc] initWithRootViewController:vc];

    // 设置导航栏
    [self addChildViewController:navigationController];
}
@end
运行结果如图: 
一些基本的UITabBarController已经配置完成,但是我们注意到在4个按钮中间有一个加号按钮,所以我们还需要对TabBar进行配置。在Other->View文件夹下建立一个名为LaTabBar的类: 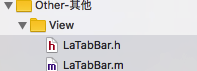 在这个类里,我们需要添加中央的加号按钮
3.1 建立类扩展
注意:在这个类中,我使用了一些XXX.size、XXX.width等点方法,这个是在添加一个类扩展中,让我们更加方便的设置frame,设置方法如下:
-
建立类扩展 :(PS:选择的时候不是再选择
Cocoa Touch Class而是Objective-C File)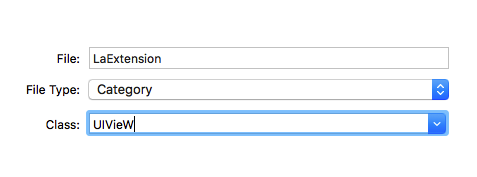
-
设置getter和setter等方法
UIView+LaExtension.h文件
//
//  UIView+LaExtension.h
//  百思不得姐
//
//  Created by 柳钰柯 on 2016/10/12.
//  Copyright © 2016年 柳钰柯. All rights reserved.
//

#import <UIKit/UIKit.h>

@interface UIView (LaExtension)
@property(assign, nonatomic) CGSize size;
@property(assign, nonatomic) CGFloat width;
@property(assign, nonatomic) CGFloat height;
@property(assign, nonatomic) CGFloat x;
@property(assign, nonatomic) CGFloat y;

/** 在分类中声明@property,只会生成方法的声明,不会生成方法的实现和带有_下划线的成员变量 */
@end
UIView+LaExtension.m文件
//
//  UIView+LaExtension.m
//  百思不得姐
//
//  Created by 柳钰柯 on 2016/10/12.
//  Copyright © 2016年 柳钰柯. All rights reserved.
//

#import "UIView+LaExtension.h"

@implementation UIView (LaExtension)

-(void)setSize:(CGSize)size{
    CGRect frame = self.frame;
    frame.size = size;
    self.frame = frame;
}

- (void)setWidth:(CGFloat)width{
    CGRect frame = self.frame;
    frame.size.width = width;
    self.frame = frame;
}

- (void)setHeight:(CGFloat)height{
    CGRect frame = self.frame;
    frame.size.height = height;
    self.frame = frame;
}

- (void)setX:(CGFloat)x{
    CGRect frame = self.frame;
    frame.origin.x = x;
    self.frame = frame;

}

- (void)setY:(CGFloat)y{
    CGRect frame = self.frame;
    frame.origin.y = y;
    self.frame = frame;

}

-(CGSize)size{
    return self.frame.size;
}

- (CGFloat)width{
    return self.frame.size.width;
}

- (CGFloat)height{
    return self.frame.size.height;
}

- (CGFloat)x{
    return self.frame.origin.x;
}

- (CGFloat)y{
    return self.frame.origin.y;
}

@end
3.2建立全局引用文件(.pch)
-
首先说一下pch的作用:
1.存放一些全局的宏(整个项目中都用得上的宏)
2.用来包含一些全部的头文件(整个项目中都用得上的头文件)
3.能自动打开或者关闭日志输出功能
- 建立过程,在Other-其他文件夹中建立一个命名为Header的Header File的.h文件,创建完成之后右击它,点击Show in Finder,我们把
header.h文件拖入终端中,得到它的路径
- 然后点击Target->Build Setting,在搜索框输入Prefix header,输入我们在终端中获取到的
header.h文件的路径。注意:要将绝对路径转换为相对路径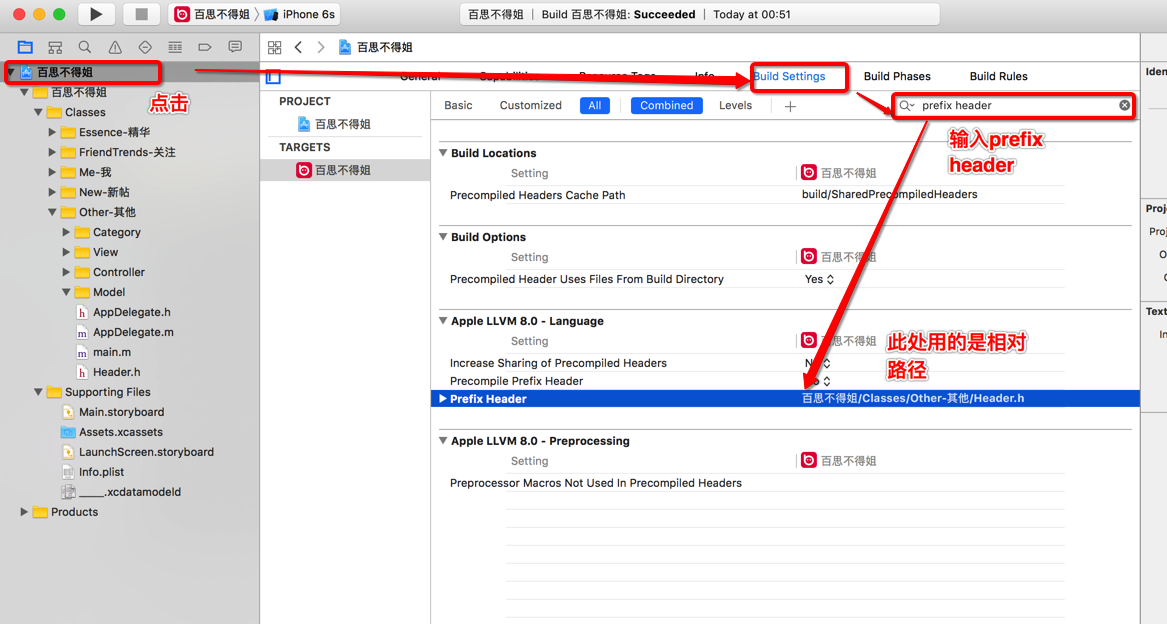
3.3自定义TabBar
//
//  LaTabBar.m
//  百思不得姐
//
//  Created by 柳钰柯 on 2016/10/16.
//  Copyright © 2016年 柳钰柯. All rights reserved.
//

#import "LaTabBar.h"

@interface LaTabBar ()
// 发布按钮
@property(strong, nonatomic) UIButton *publishButton;
@end

@implementation LaTabBar

- (instancetype)initWithFrame:(CGRect)frame{
    if (self = [super initWithFrame:frame]) {
        // tabbar背景图片
        [self setBackgroundImage:[UIImage imageNamed:@"tabbar-light"]];
        UIButton *publishButton = [UIButton buttonWithType:UIButtonTypeCustom];
        [publishButton setBackgroundImage:[UIImage imageNamed:@"tabBar_publish_icon"] forState:UIControlStateNormal];
        [publishButton setBackgroundImage:[UIImage imageNamed:@"tabBar_publish_click_icon"] forState:UIControlStateHighlighted];
        publishButton.size = publishButton.currentBackgroundImage.size;
        [self addSubview:publishButton];
        self.publishButton = publishButton;
    }
    return self;
}

- (void)layoutSubviews{// 自动布局,在其中设置按钮frame等信息可以保持显示的和我们设置的是一致的
    [super layoutSubviews];

    CGFloat width = self.width;
    CGFloat height = self.height;

    // 设置发布按钮frame
    self.publishButton.center = CGPointMake(width * 0.5, height * 0.5);

    CGFloat buttonY = 0;
    CGFloat buttonW = width / 5;
    CGFloat buttonH = height;
    NSInteger index = 0;
    // 设置其他UITabBarButton的frame
    for (UIView *button in self.subviews) {
        if (![button isKindOfClass:NSClassFromString(@"UITabBarButton")])  continue;
        // 计算按钮的X值
        CGFloat buttonX = buttonW * ((index > 1) ? (index + 1):index);
        button.frame = CGRectMake(buttonX, buttonY, buttonW, buttonH);
        // 增加索引
        index++;
    }

}
@end
配置完成TabBar后,进入LaTabBarController.m文件,在viewDidLoad函数中,利用KVC的方式替换默认的TabBar.(tabBar为ReadOnly,需要用KVC方式来替换)
// 更换TabBar
    [self setValue:[[LaTabBar alloc]init] forKeyPath:@"tabBar"];
运行效果: 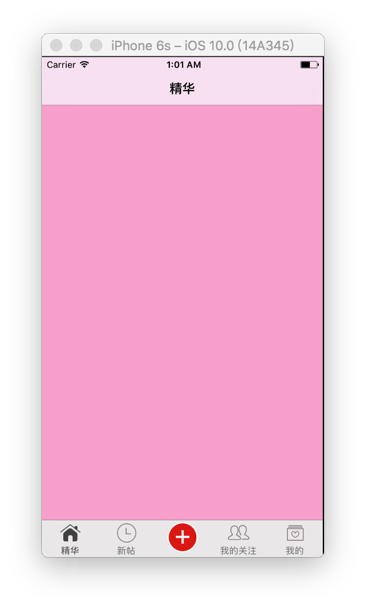
结尾
还有一部分内容放在(二)中讲解。 如有需要,随意转载,注明出处即可。 谢谢阅读。我的博客地址:代码成诗